Recipe: Baking Bad Brownies
Sometimes, I'm really reminded of how awesome it is to live in L.A. Sure, it's expensive and smoggy, and you can't go to a Starbucks without hearing some douchebag broadcasting his conversation to the whole room as he takes a "business call". But it's also a city of perfect weather, with nearly every landscape you can imagine a short drive away. It's filled with great food and plenty of culture. Especially pop culture, which, not gonna lie, is my favorite kind.
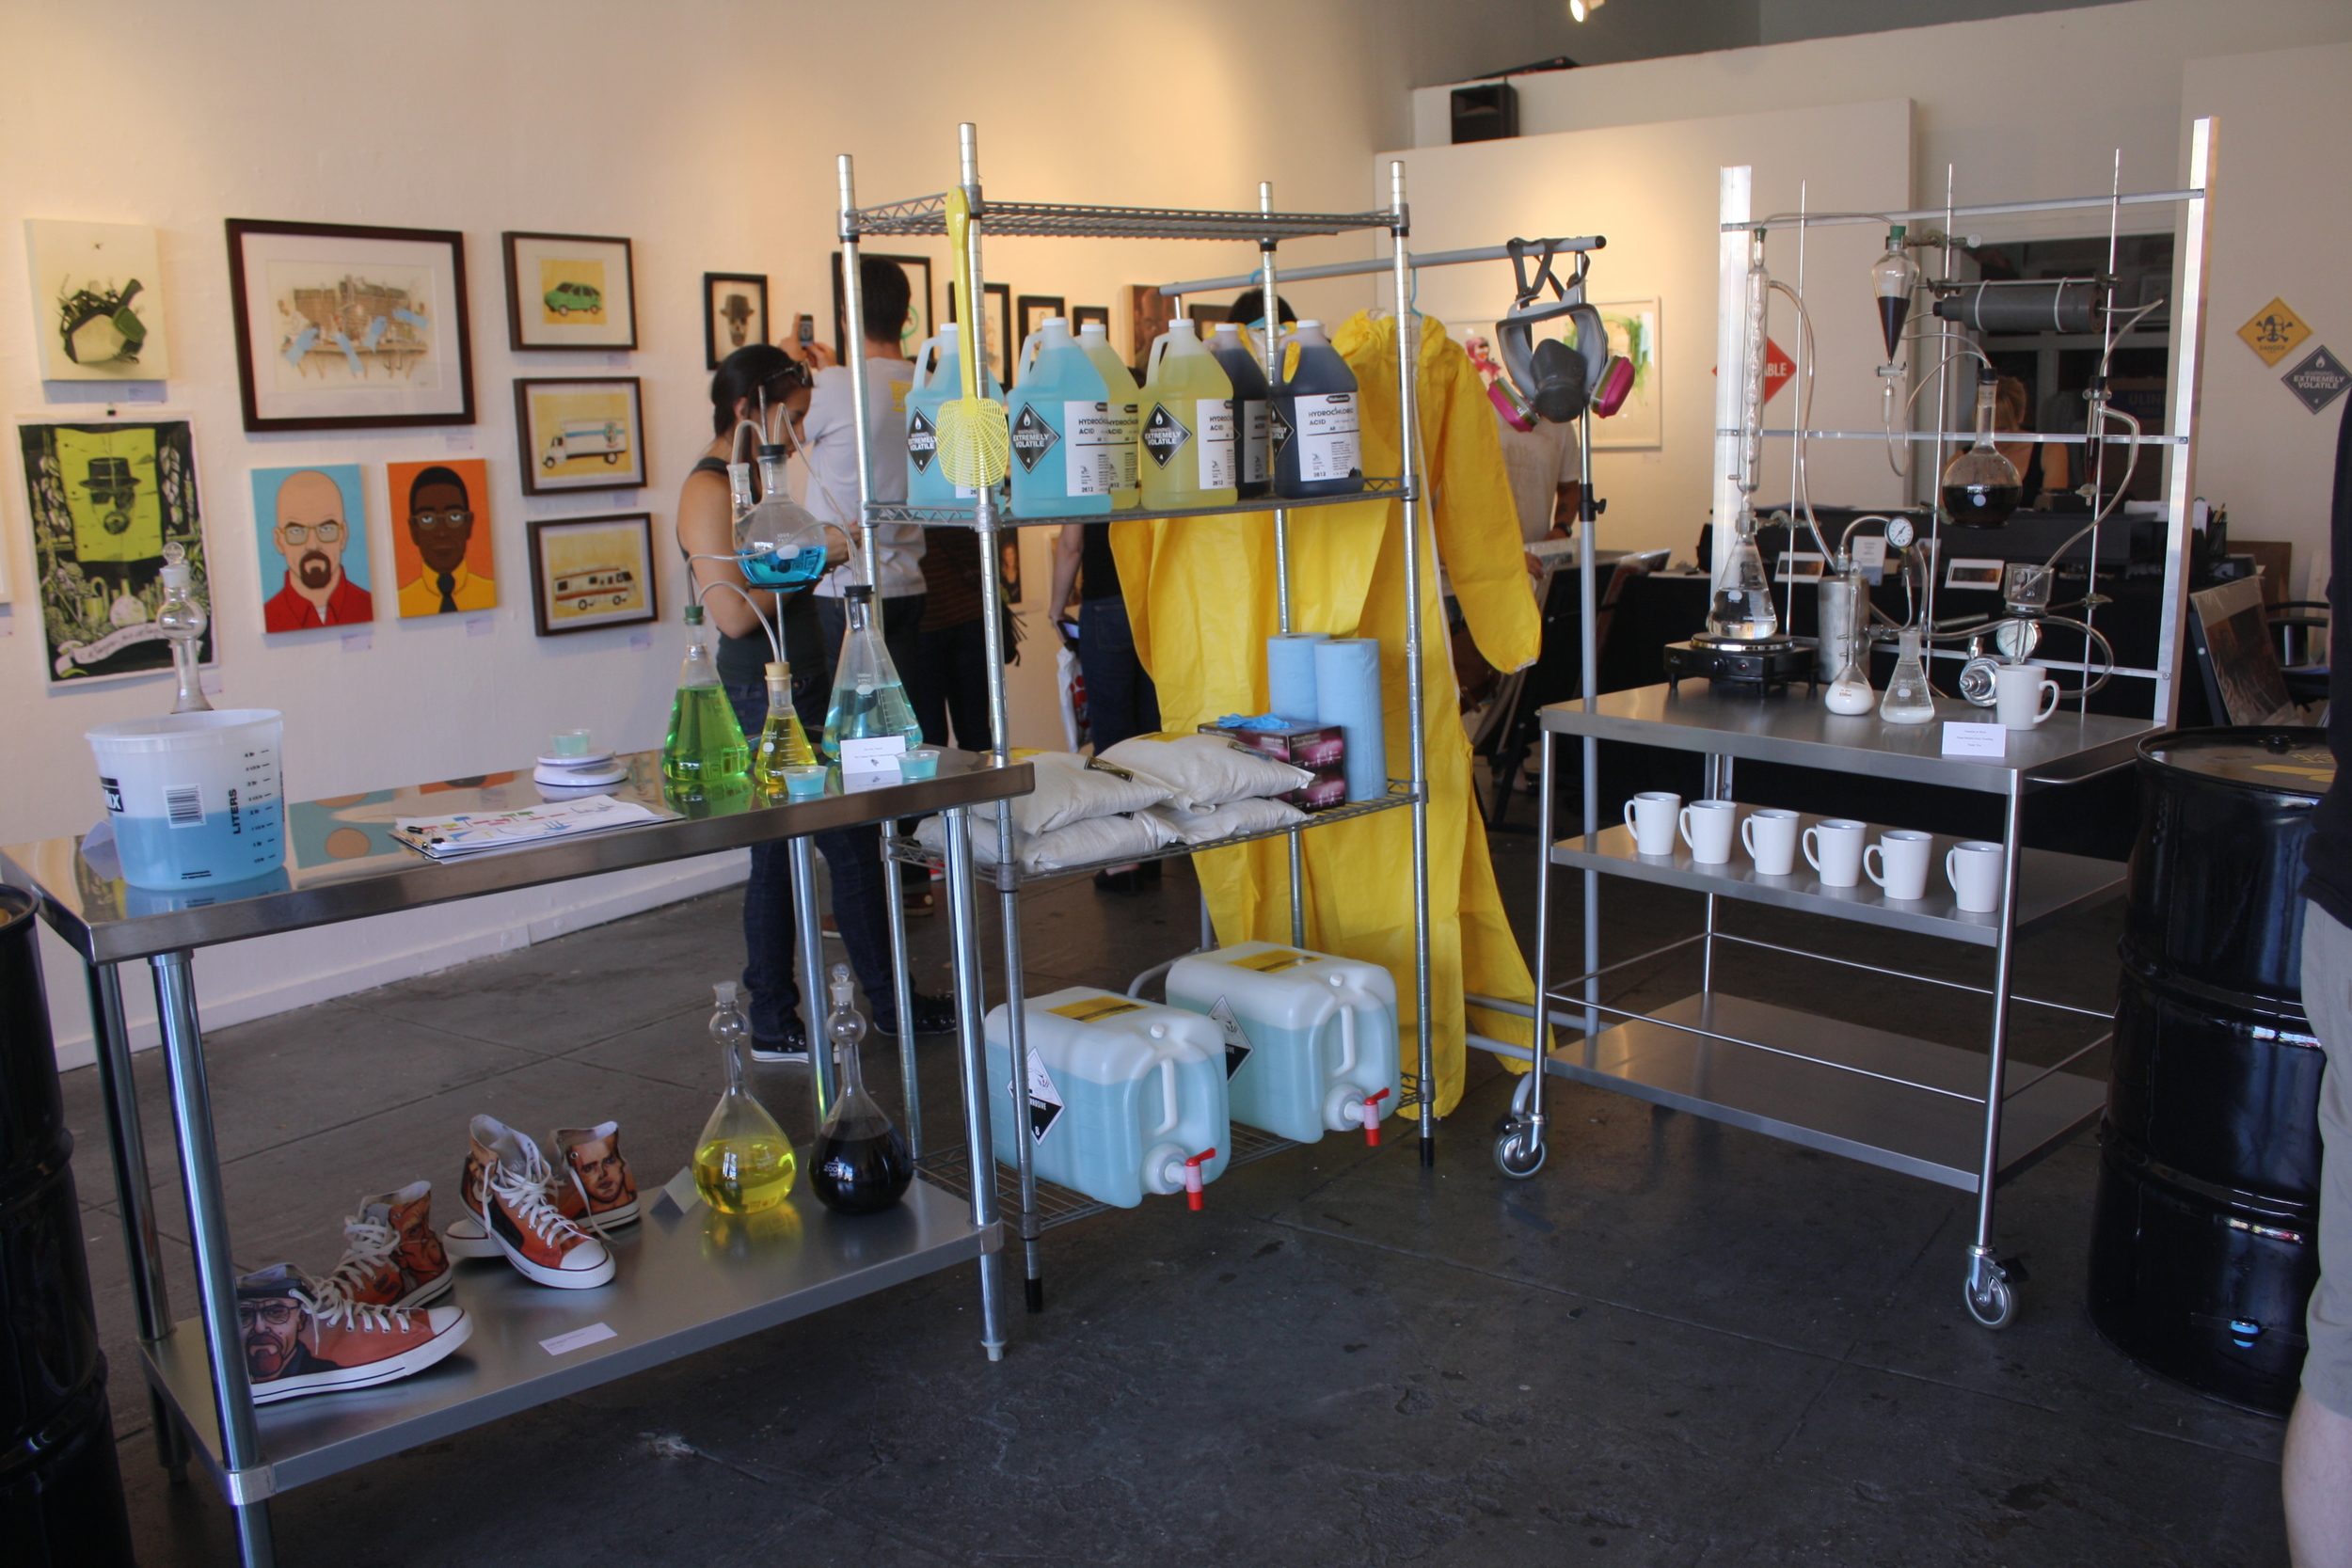
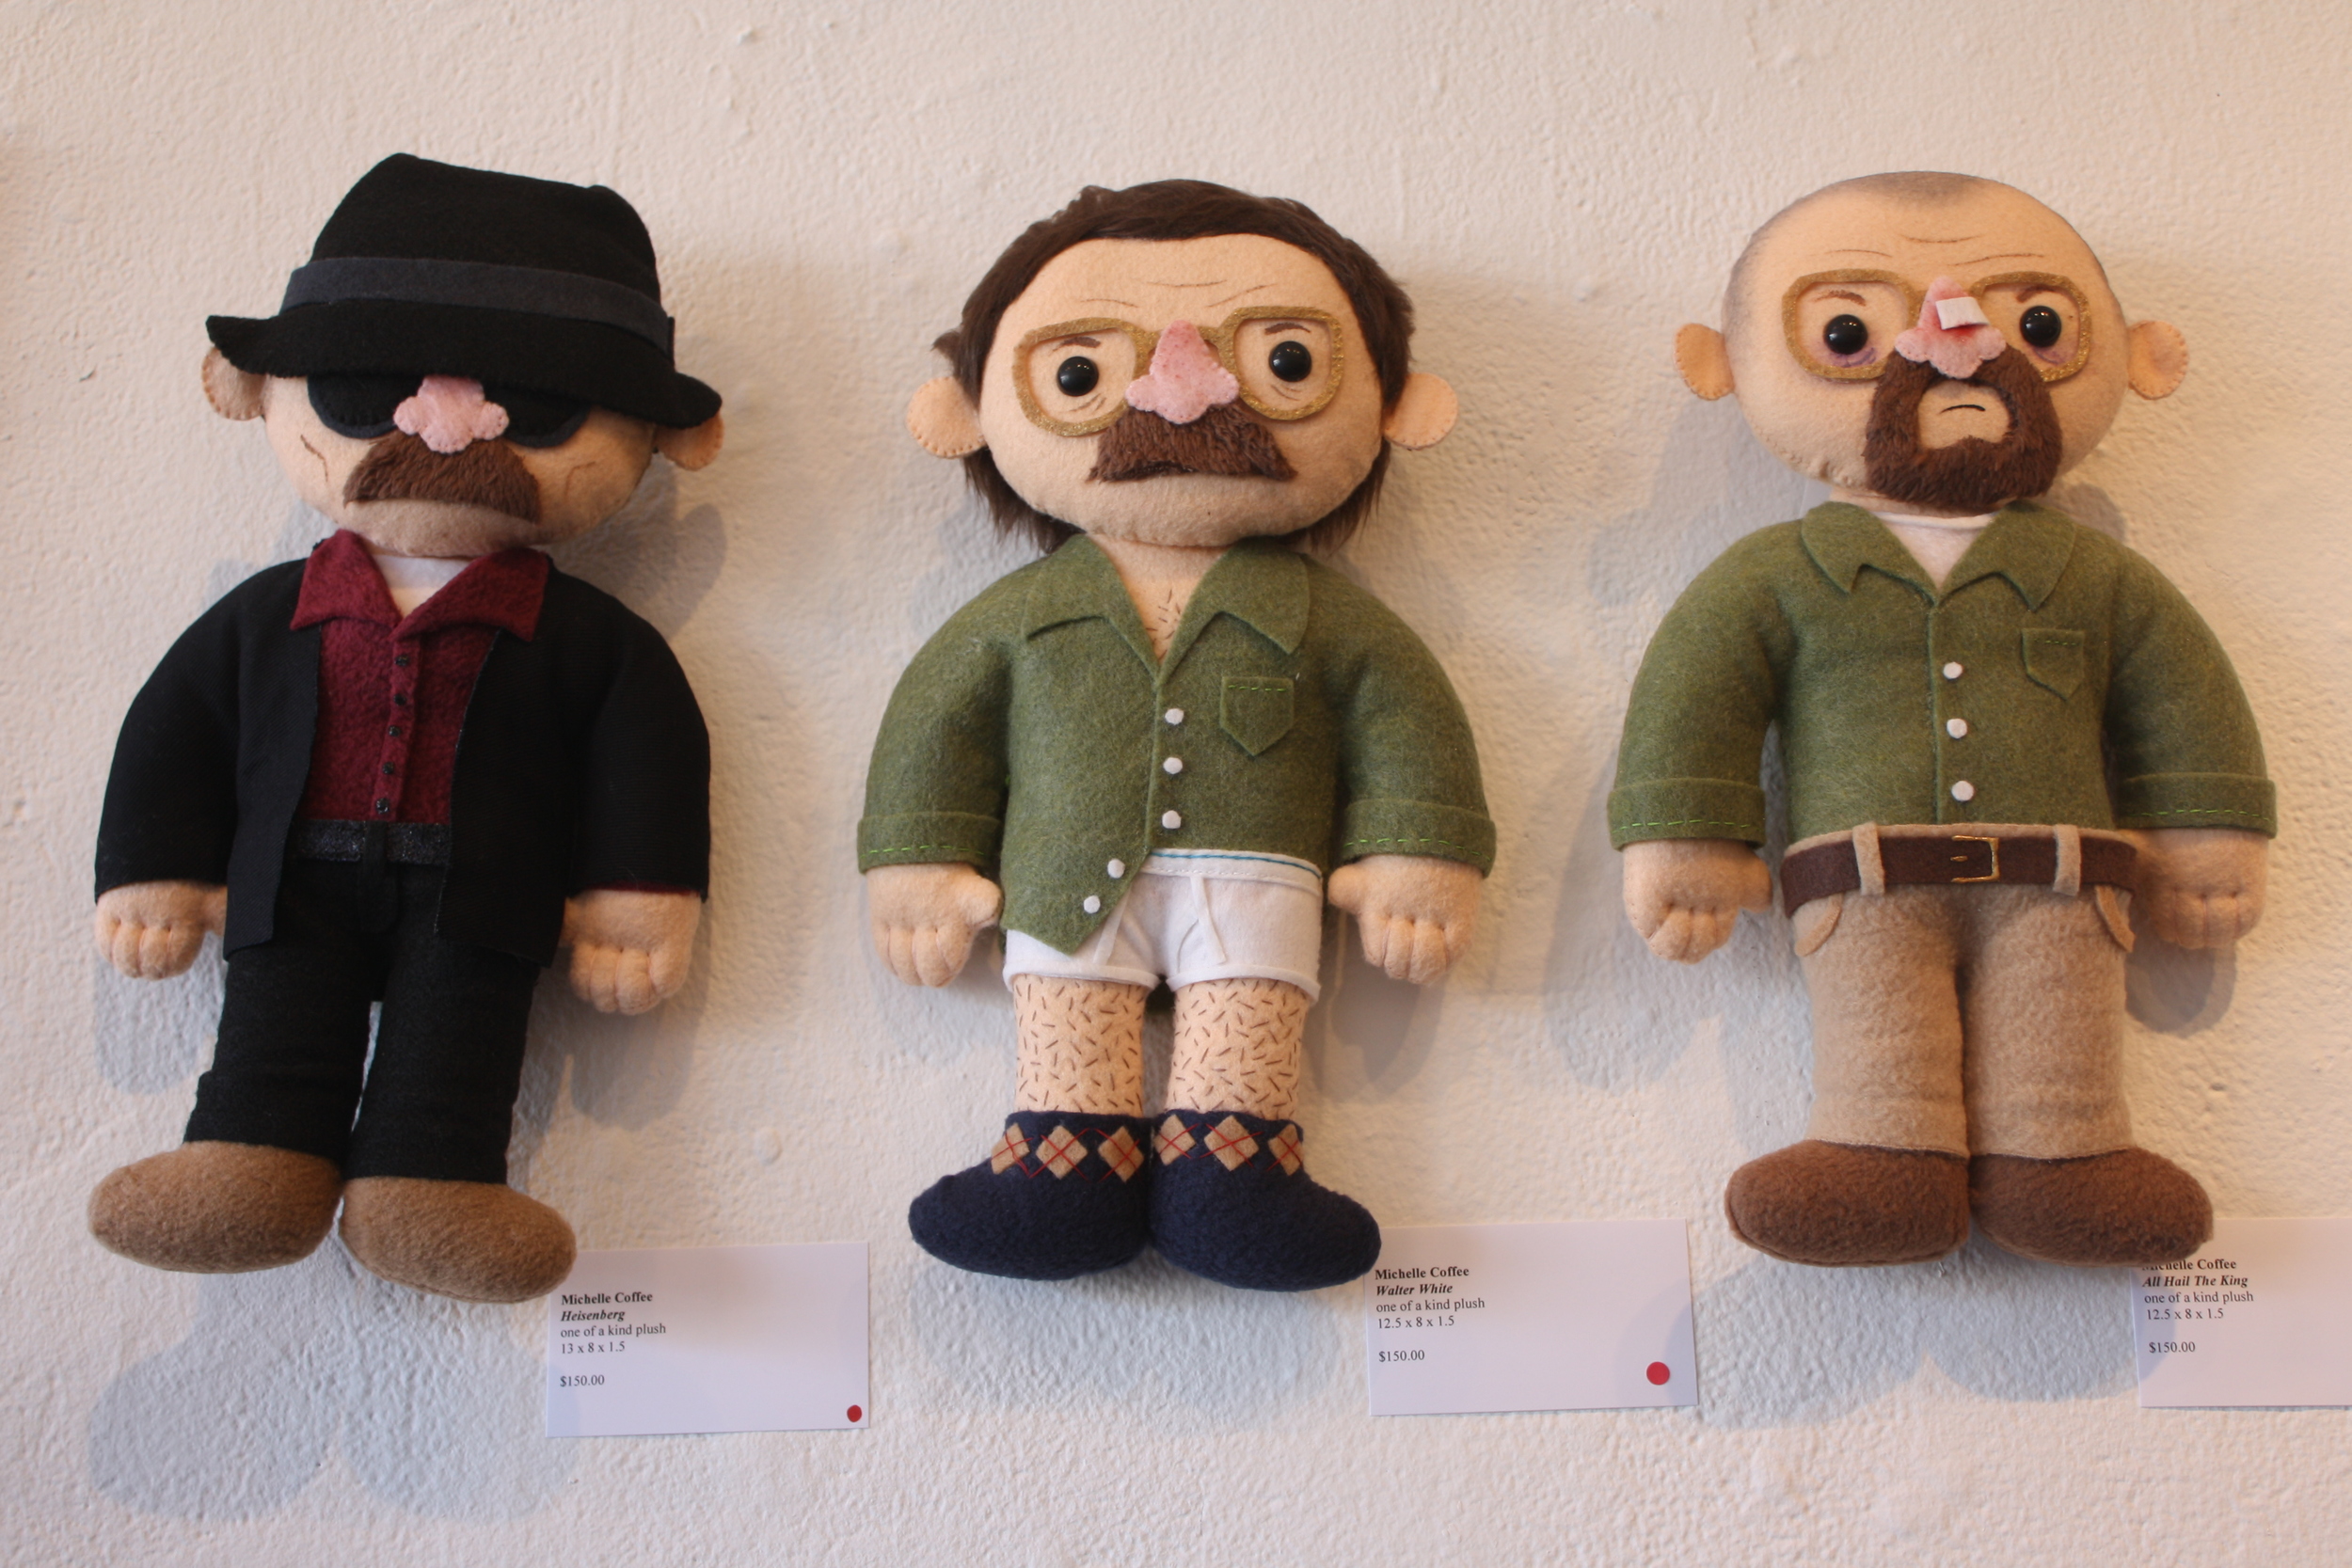
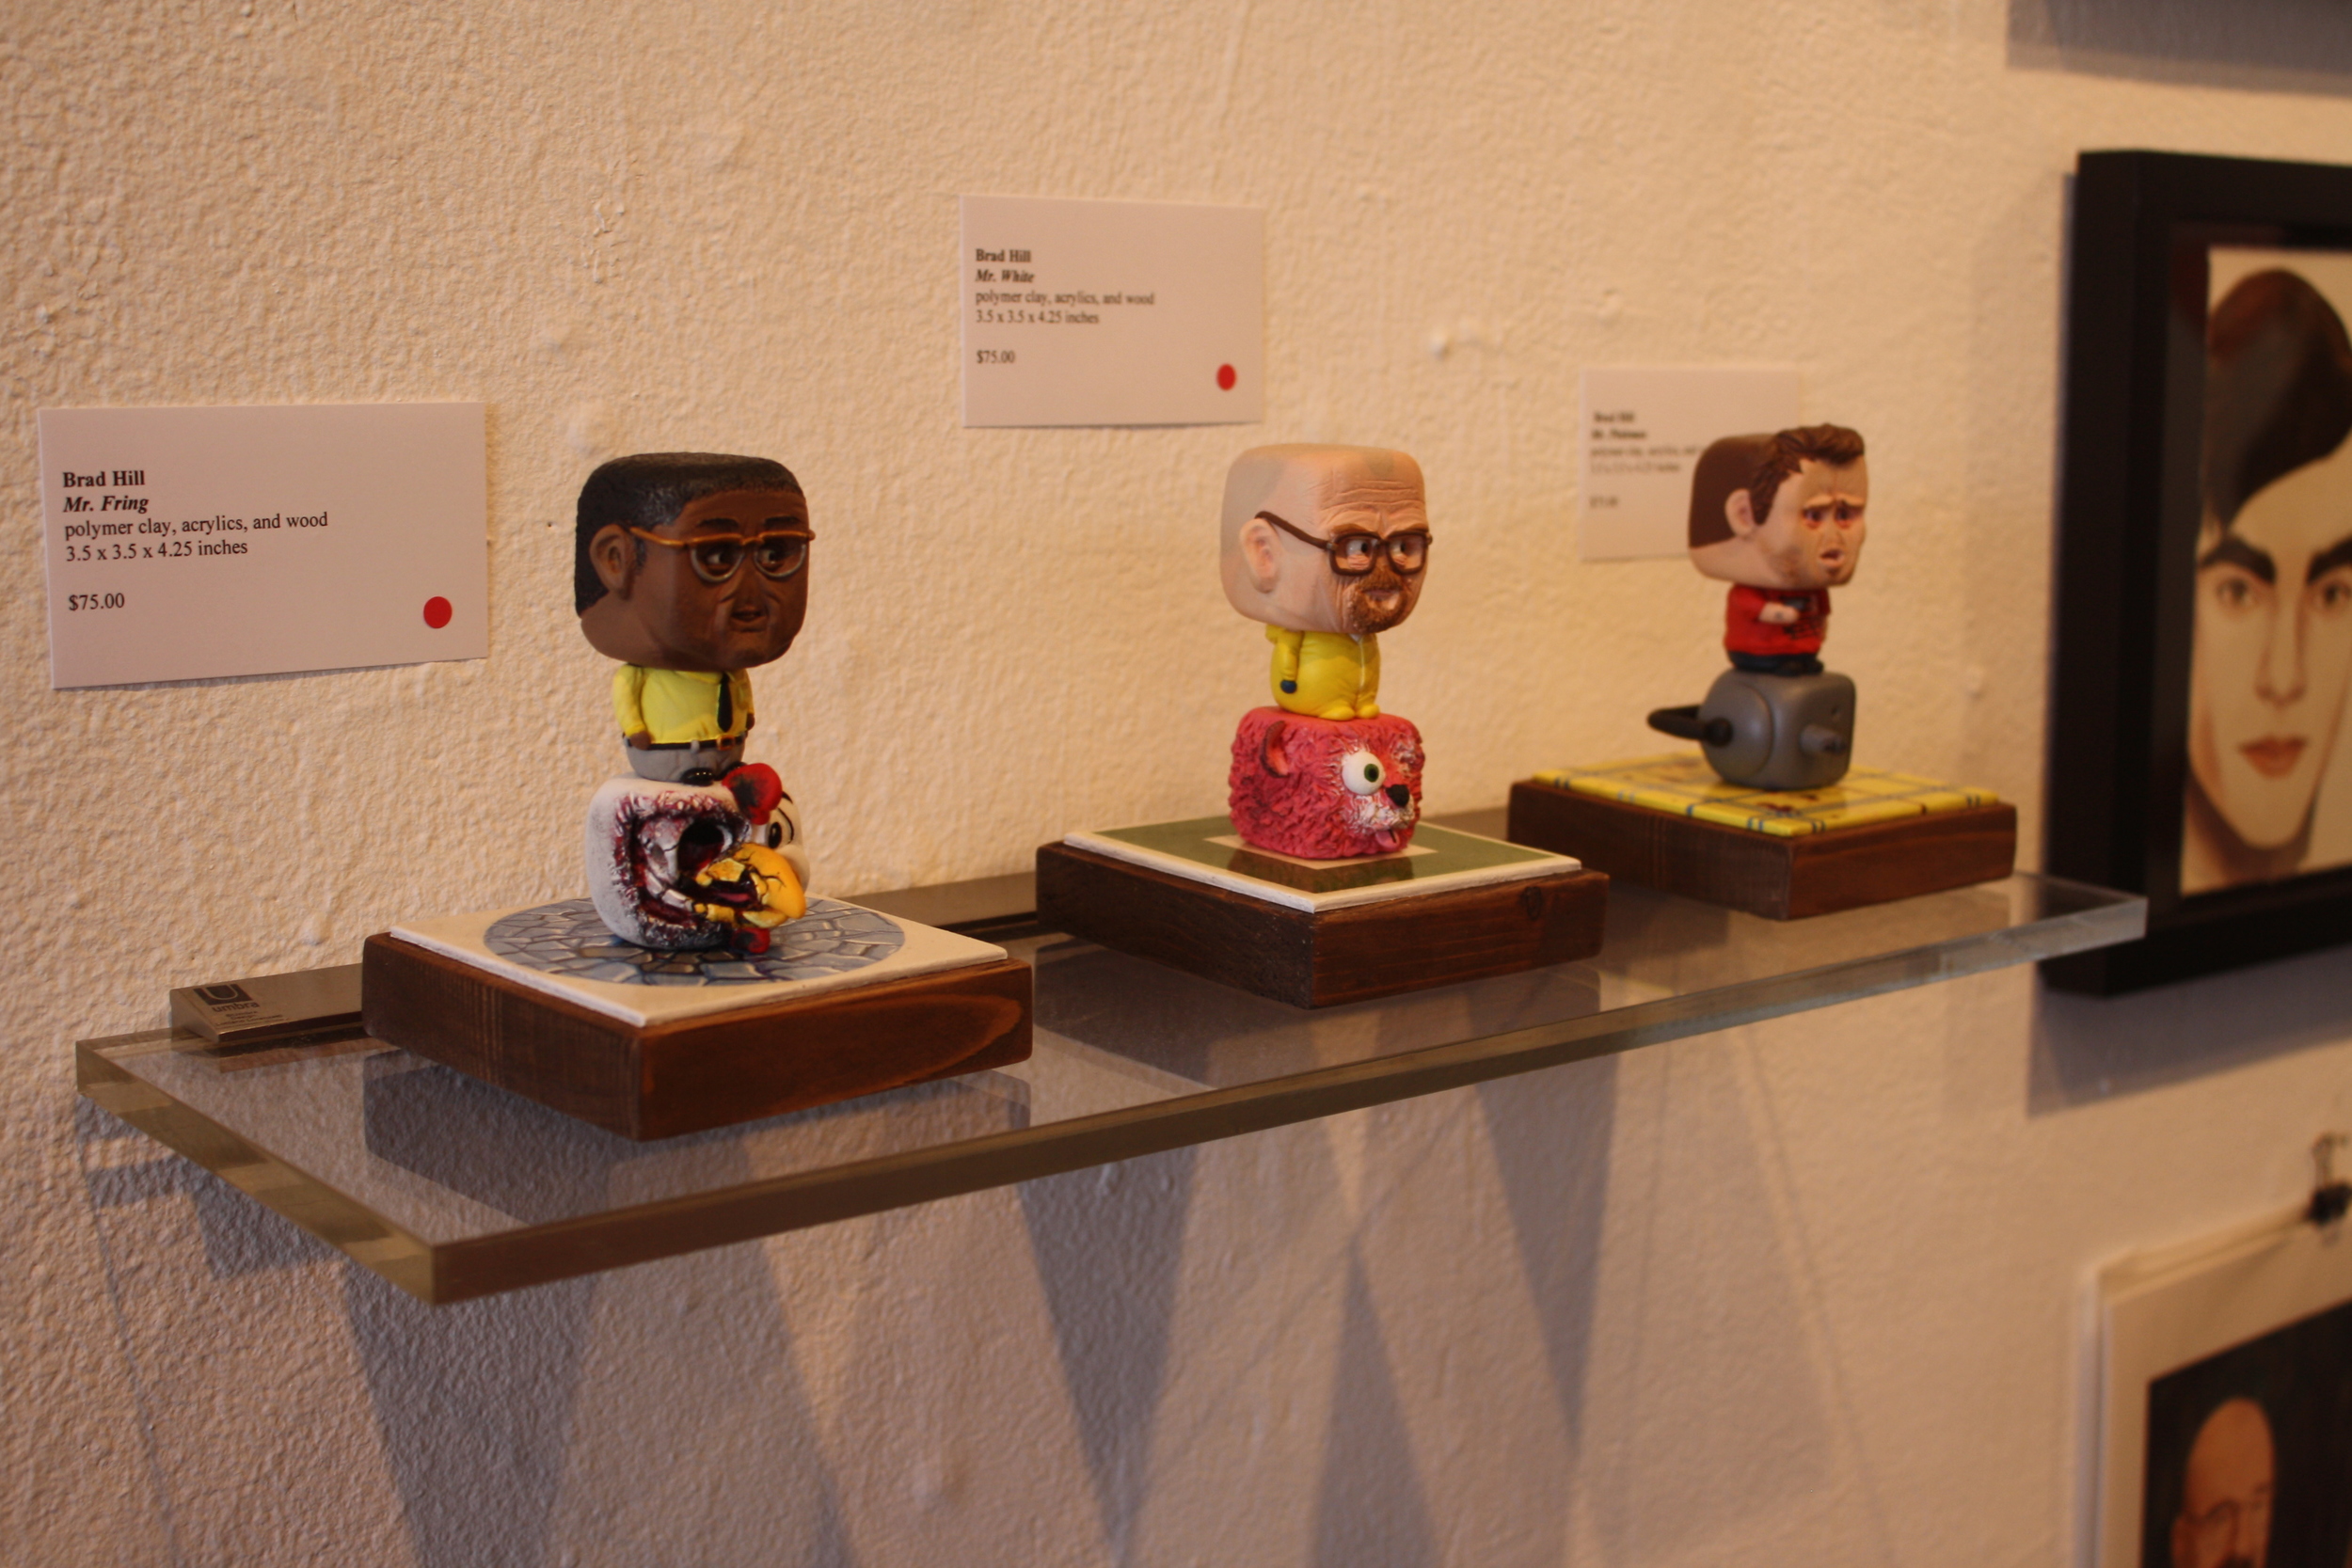
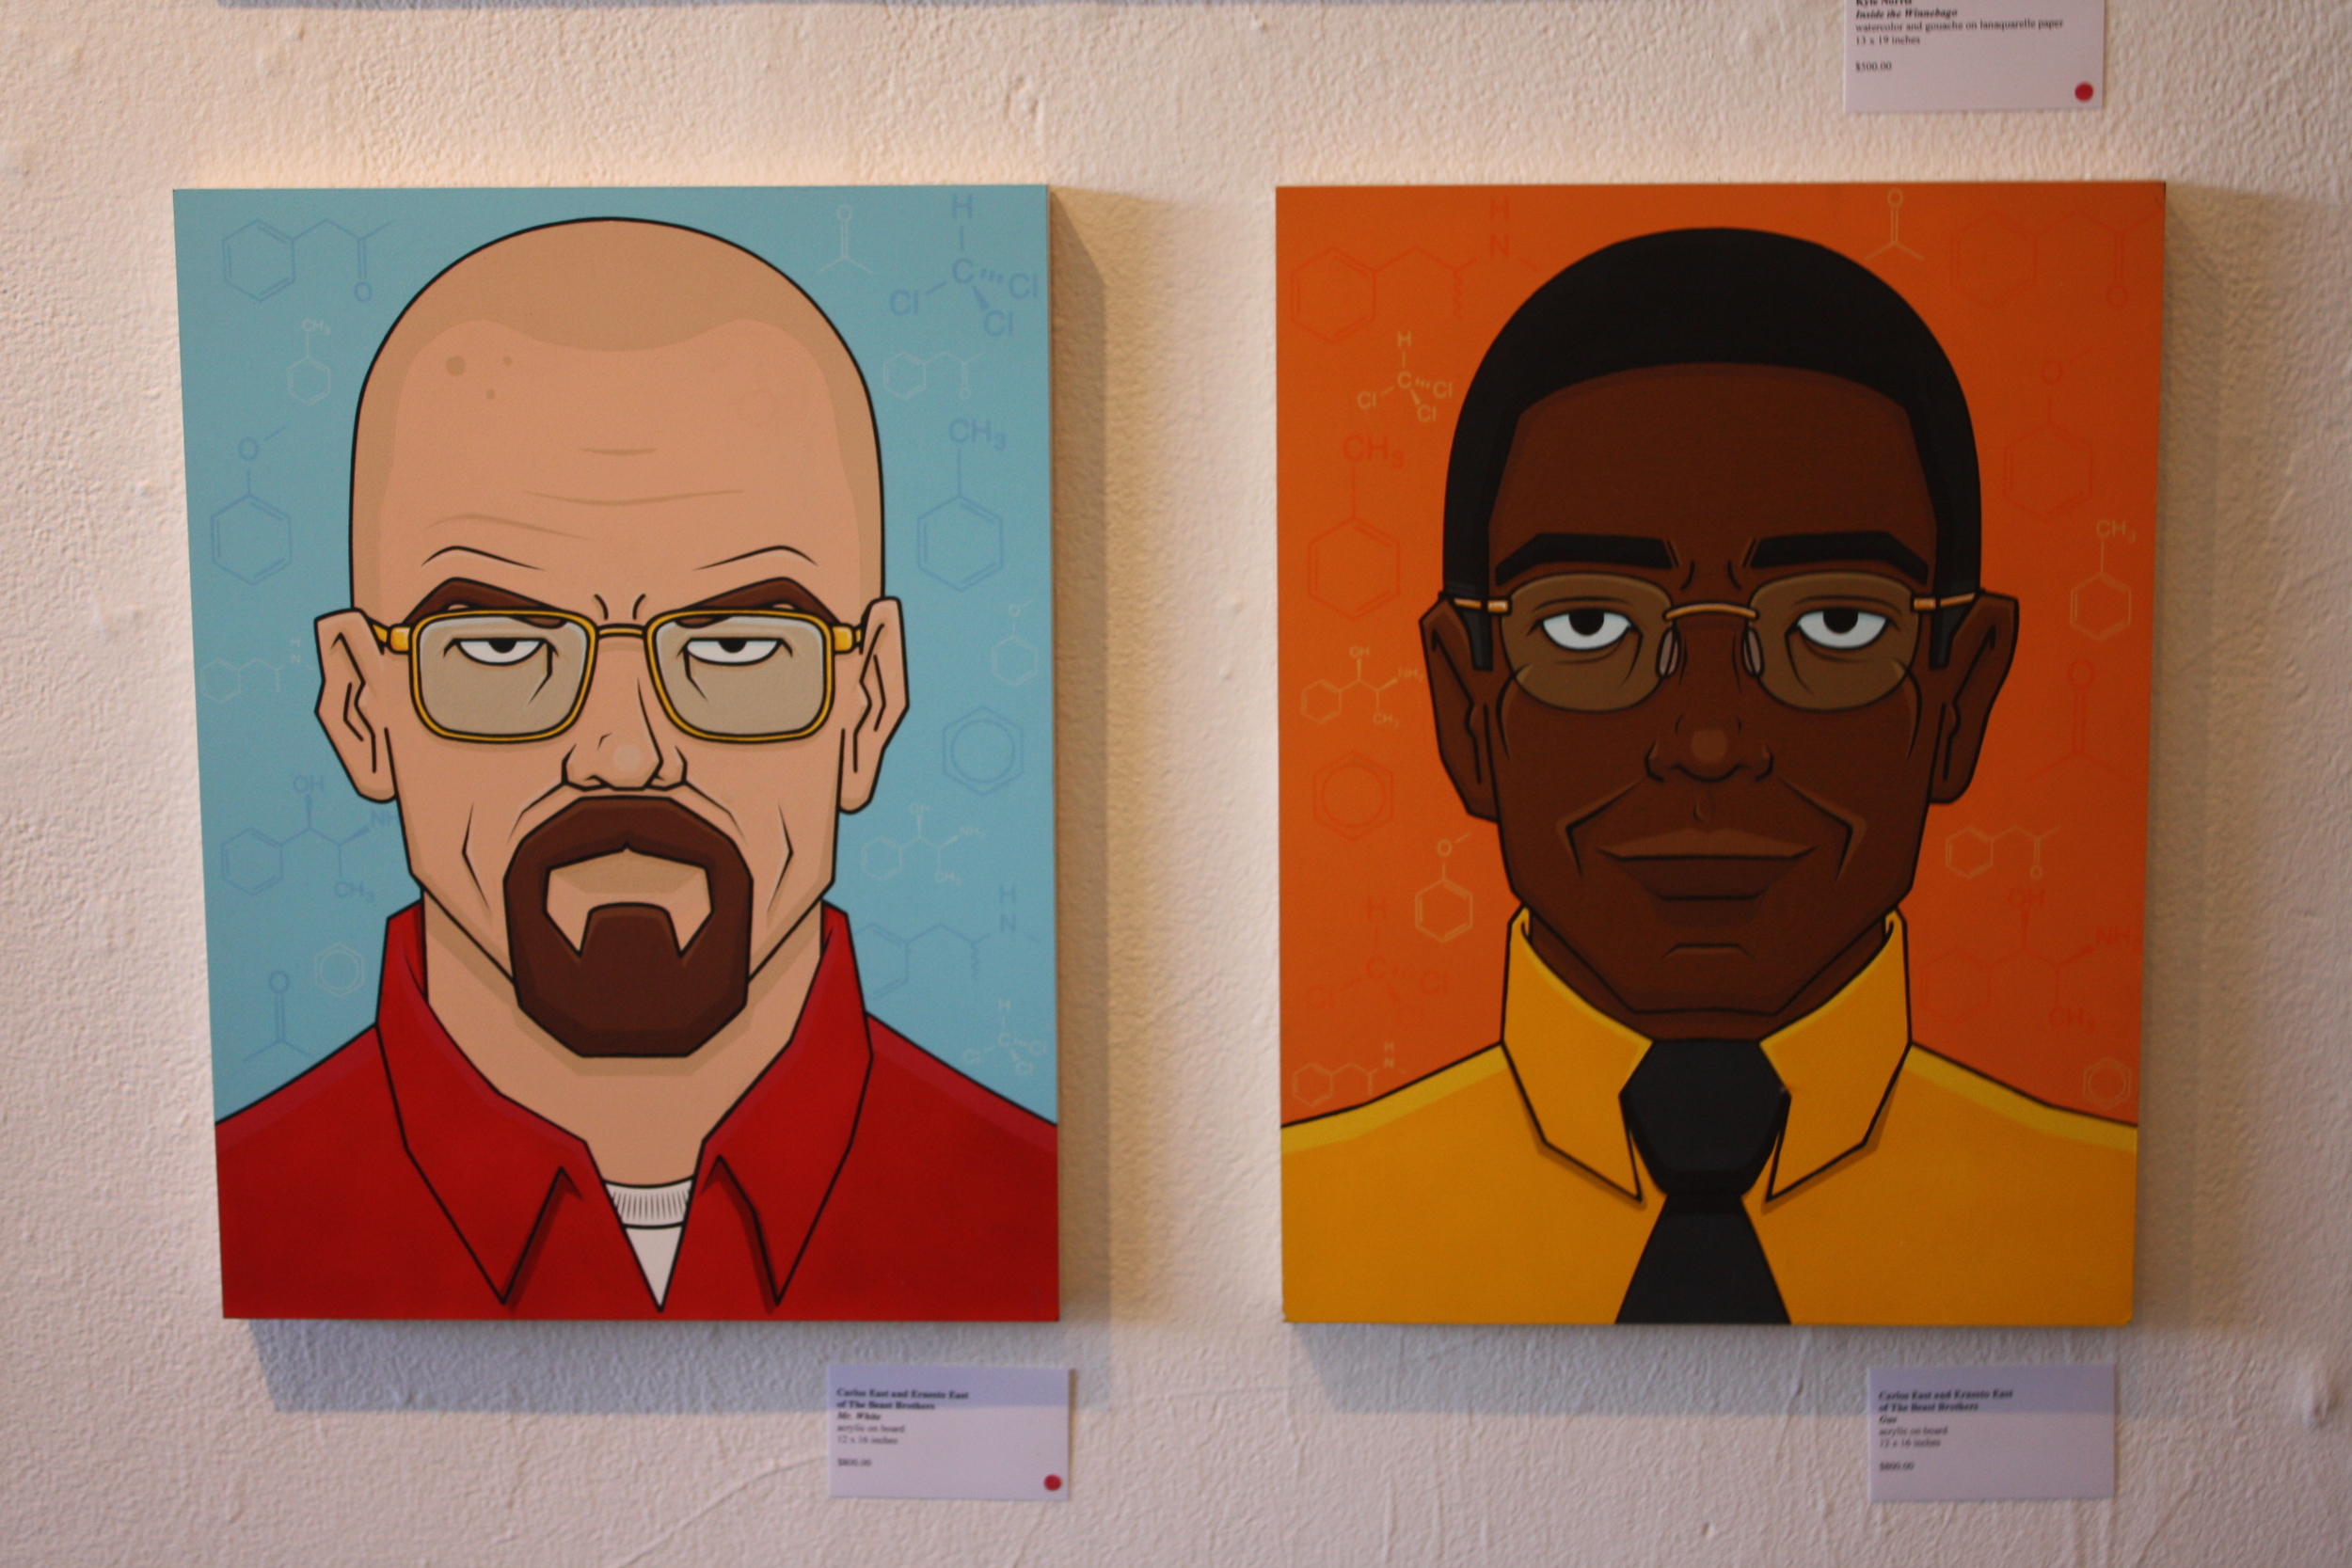
I was reminded of this when I went to Gallery1988 last weekend and caught their Breaking Bad Art Project. Now, you can find great art and great galleries all over, but in how many cities can you find a gallery that will dedicate a week to art inspired by a tv show?
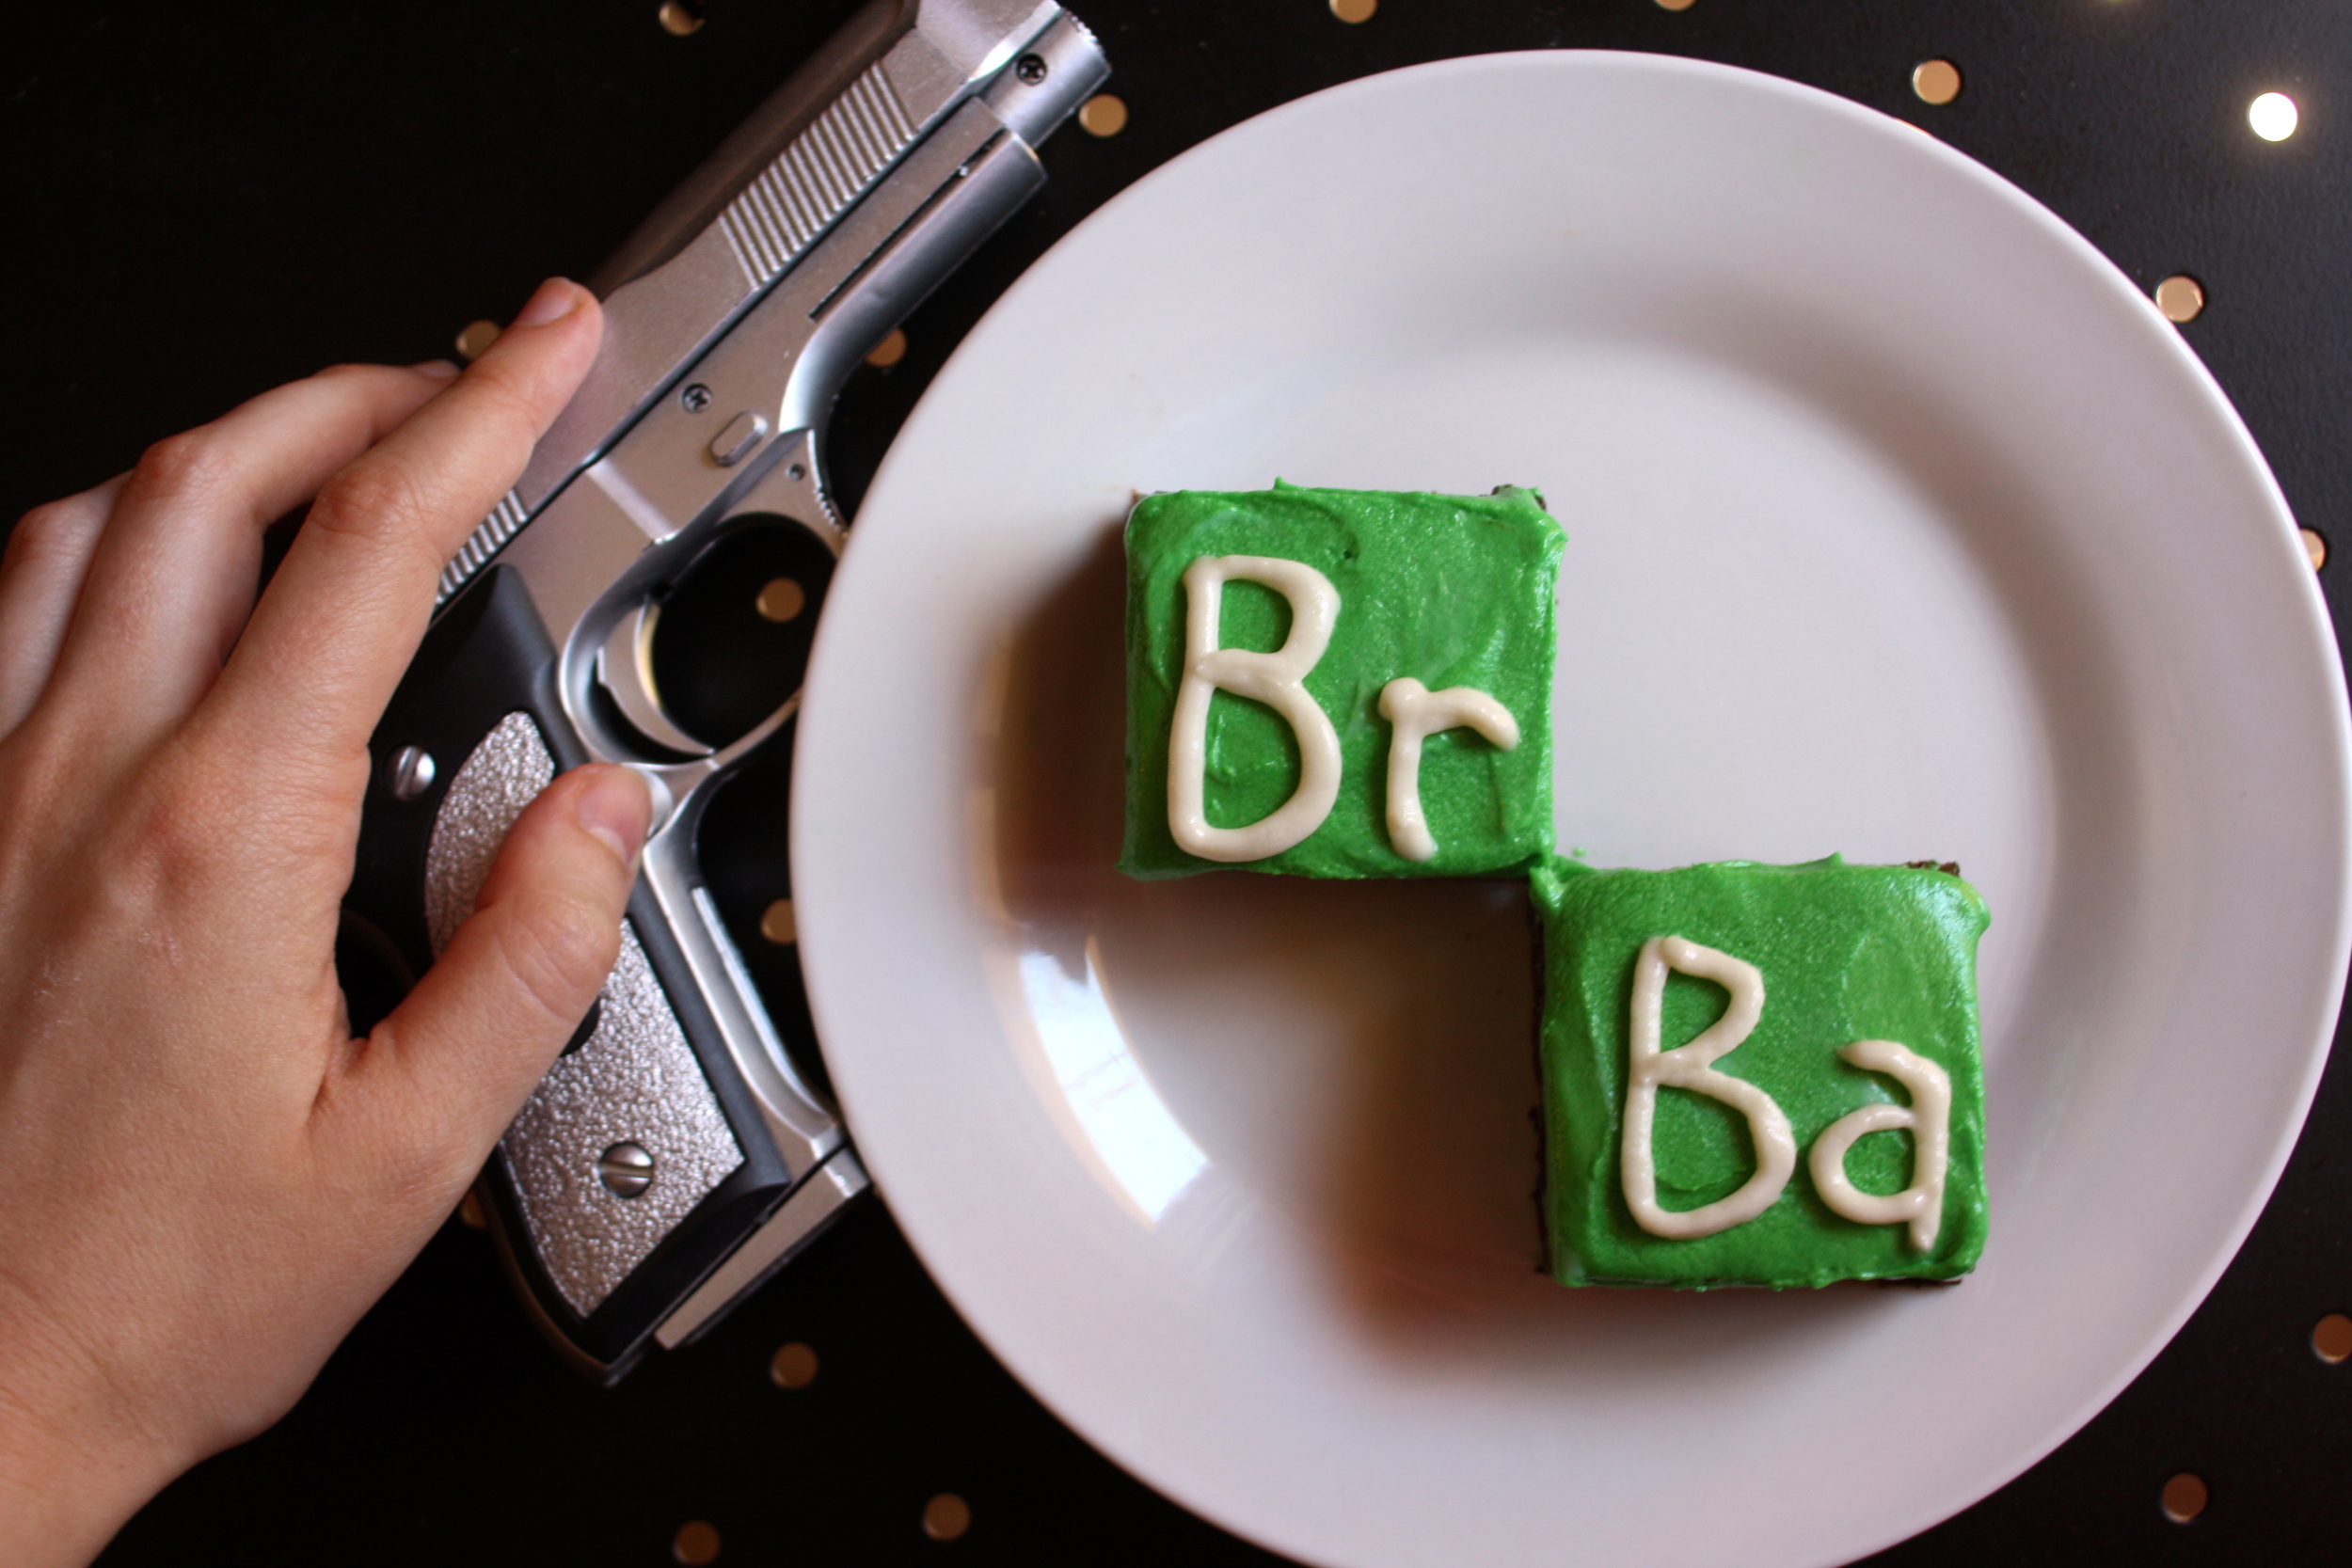
So, of course, I decided to make my own Breaking Bad-inspired piece, only mine is edible - Badass Breaking Bad Brownies.
Ok, they're basically just regular brownies that I frosted to look like the show's logo. But I thought they turned out cool, so here's the basic recipe:
Badass Breaking Bad Brownies (adapted from Brown Eyed Baker)
Makes 16 brownies
1 cup semisweet chocolate chips
2 ounces unsweetened chocolate, chopped
8 tablespoons (1 stick) unsalted butter, cut into quarters
3 tablespoons cocoa powder
3 large eggs
1¼ cups granulated sugar
2 teaspoons vanilla extract
1 teaspoon salt
1 cup all-purpose flour
1. Heat the oven to 350 degrees. Line an 8 inch square baking pan with 2 sheets of foil, leaving plenty of over-hang so you'll be able to lift the brownies out when they're done. Grease or spray the lined pan with butter or non-stick baking spray.
2. Set a medium heat proof bowl over a pan of almost simmering water, so that the bowl doesn't touch the water. Melt the chocolates and butter, stirring occasionally until smooth. Whisk in the cocoa until smooth. Set aside to cool.
3. Whisk together the eggs, sugar, vanilla, and salt in a medium bowl until combined. Whisk the warm chocolate mixture into the egg mixture; then stir in the flour with a wooden spoon until just combined. Do not over-stir. Pour the mixture into the prepared pan, spread into the corners, and level the surface with a rubber spatula. Bake until slightly puffed and a toothpick inserted in the center comes out with a small amount of sticky crumbs clinging to it, 30 to 35 minutes. Cool on a wire rack to room temperature, about 2 hours.
The Frosting: I'll be honest, I used a salted caramel cream cheese frosting and these babies came out a little too rich, even for me. I'd probably use a simpler vanilla frosting if I were to do it again. I'll share the salted caramel frosting when I find a better use for it. The design is the important part here, though, so just use whatever white, thick frosting you like:
1. Set aside about 1/4 cup in a ziploc baggie, and use food coloring to dye the rest green (gel food coloring is better than liquid, as it has a higher concentration - you can usually find some at the craft store). Spread the frosting evenly on the brownies.
2. Use the foil overhang to remove the brownies from the pan and set them on a cutting board. Cut into 16 even squares. Wipe the knife clean after each cut so you get cleanly-cut brownies. Cut a small snip in the corner of your ziploc baggie of white frosting to write the "Br" and "Ba" designs. Serve 2 per plate in the shape of the logo for maximum effect.